Mastering Time-Lapse Videos: A Comprehensive Guide for Business

In today's fast-paced digital world, creating captivating content is essential for businesses looking to stand out. One of the most compelling ways to achieve this is through video content, particularly time-lapse videos. For businesses like bonomotion.com, which specialize in photography services such as real estate photography, understanding how to make video time lapse can significantly enhance marketing efforts and showcase properties in a stunning way. This article will provide an in-depth look at the art of time-lapse videography, its benefits, and practical steps to create mesmerizing time-lapse videos.
What is Time-Lapse Videography?
Time-lapse videography is a technique that captures changes occurring over an extended period and compresses them into a shorter timeframe. This creates a visually engaging video that highlights movement and transformation.
Why Use Time-Lapse Videos in Business?
Integrating time-lapse videos into your marketing strategy can offer numerous advantages:
- Engagement: Time-lapse videos are visually appealing and can capture the audience's attention quickly.
- Storytelling: They can tell a story of change, progress, or evolution, making your content more relatable.
- Versatility: Perfect for various applications, including real estate showcases, construction projects, and event highlights.
- SEO Benefits: Engaging video content can lead to better search rankings and increased website traffic.
How to Make Time-Lapse Videos: A Step-by-Step Guide
Creating time-lapse videos involves several stages, from planning to execution and finally editing. Below are the essential steps to help you make video time lapse effectively.
1. Planning Your Time-Lapse Project
Before diving into the technical aspects, planning is crucial. Consider the following:
- Concept: Decide what you want to depict. Is it a busy street, a sunset, or a home renovation process?
- Duration: Determine how long you want to record and how long the final video will be.
- Location: Choose a suitable location with clear visibility and minimal obstructions.
- Equipment: Ensure you have the right tools, including a tripod for stability and a camera that can take interval shots.
2. Choosing the Right Equipment
Your choice of equipment plays a vital role in the quality of your time-lapse video. Here’s what you’ll need:
- Camera: DSLRs, mirrorless cameras, or even smartphones can be used for time-lapse photography.
- Tripod: A sturdy tripod is essential to keep your camera stable throughout the shoot.
- Intervalometer: This device controls the timing of your shots, allowing for consistent intervals.
- Editing Software: Choose software that supports time-lapse editing, such as Adobe Premiere Pro or Final Cut Pro.
3. Setting Up Your Camera
Once you have your equipment, it’s time to set up your camera:
- Frame Your Shot: Ensure the composition is interesting. Use the rule of thirds to guide your framing.
- Focus: Manually focus your camera to avoid autofocus adjustments during the shoot.
- Set Exposure: Lock your exposure settings to maintain consistent lighting throughout the recording.
4. Shooting Your Time-Lapse Video
Now you’re ready to start capturing your time-lapse. Keep these tips in mind:
- Interval Timing: Determine the interval between shots based on the movement speed of your subject. Faster movements require shorter intervals.
- Duration: Keep in mind the total duration of your shoot and how that will translate into your final video length.
5. Editing Your Time-Lapse Video
Editing is where your time-lapse comes to life:
- Import Footage: Load your images into your editing software.
- Speed Adjustment: Set the playback speed according to your desired final duration.
- Add Music and Effects: Consider adding a soundtrack or sound effects to enhance the viewing experience.
Common Mistakes to Avoid
While creating time-lapse videos, be aware of these common pitfalls:
- Inconsistent Exposure: Avoid automatic exposure adjustments that can create flickers in the video.
- Neglecting the Background: Ensure your background is engaging; a cluttered background can distract viewers.
- Poor Stability: Use a tripod to ensure smooth footage; any shake in the camera can ruin the end product.
Enhancing Your Time-Lapse Videos
To take your time-lapse videos to the next level, consider these enhancement techniques:
- Transitions: Add creative transitions between scenes to improve flow.
- Text Overlays: Include text to highlight key information or to guide viewers through the narrative.
- Color Grading: Adjust the color balance and saturation to evoke specific moods or themes.
Applications of Time-Lapse Videos in Business
Time-lapse videos have various applications in business settings, particularly for real estate and other photography services:
- Construction Projects: Documenting construction timelines can demonstrate your capabilities and progress to potential clients.
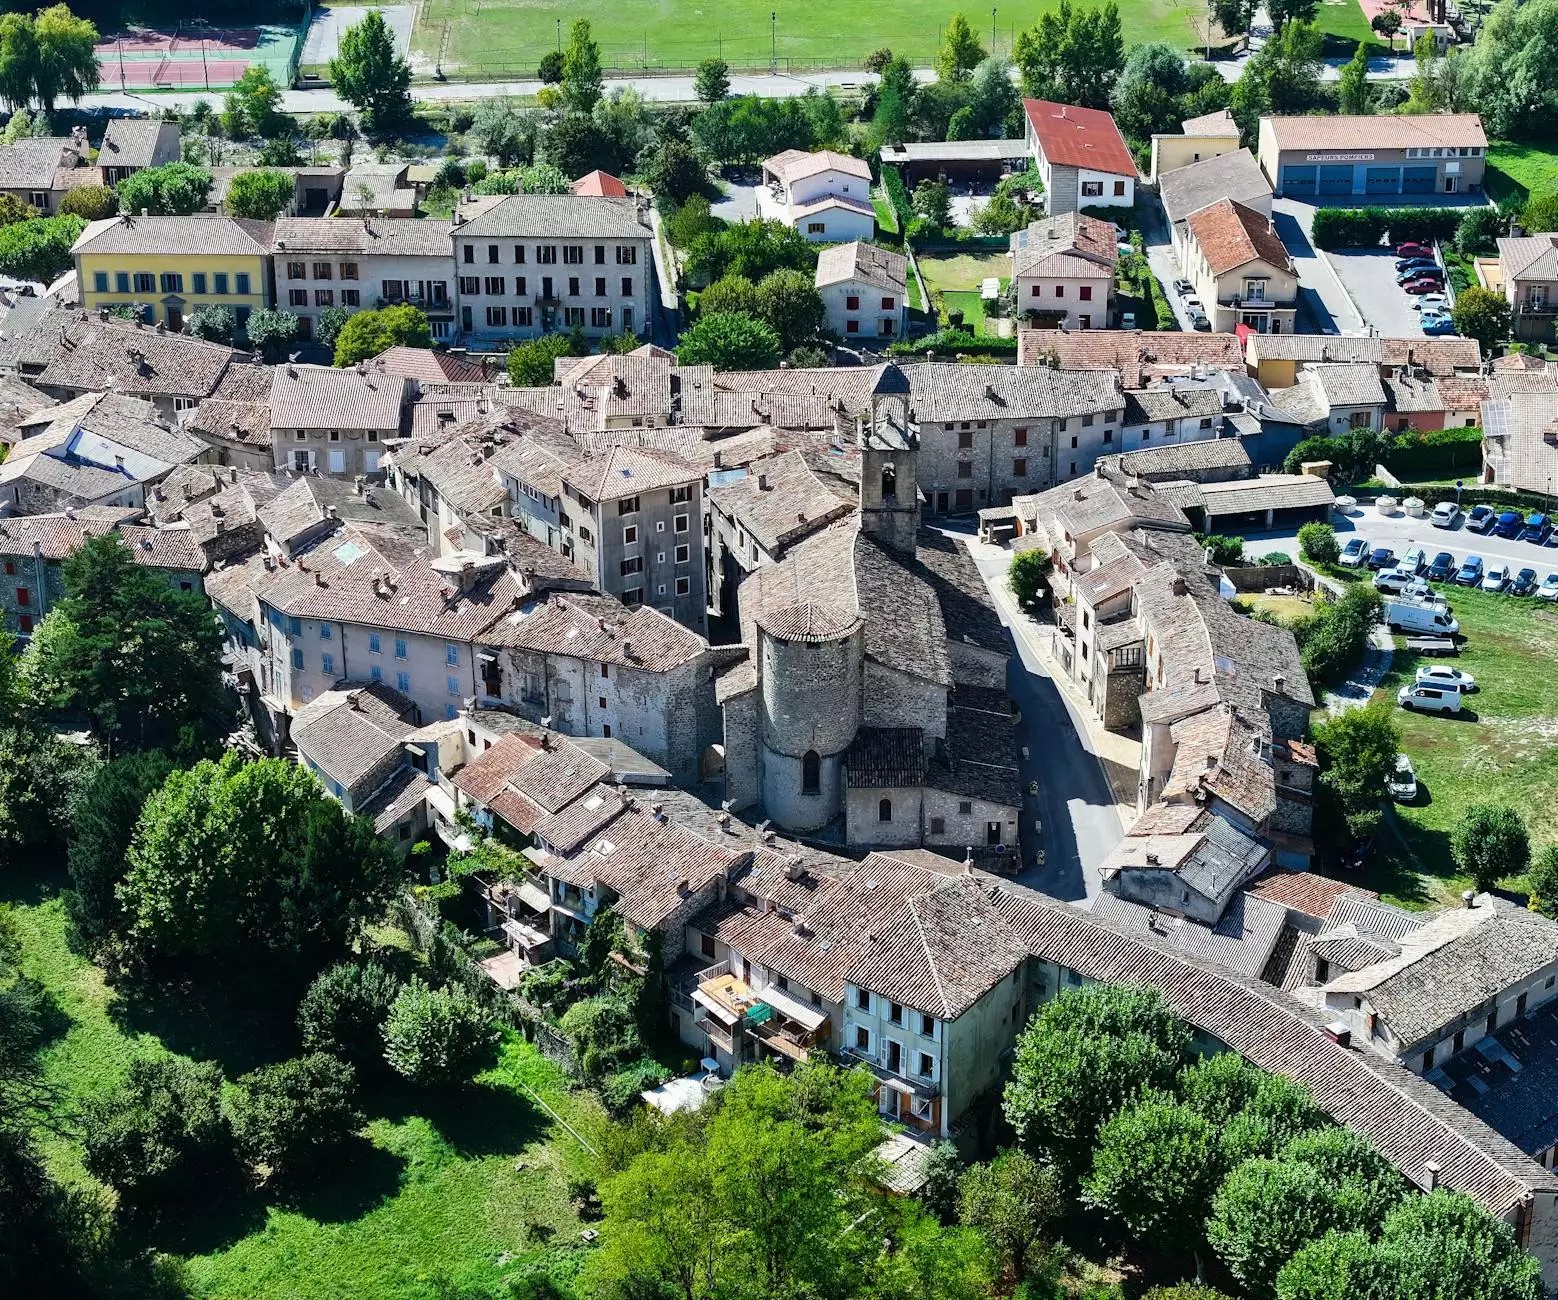
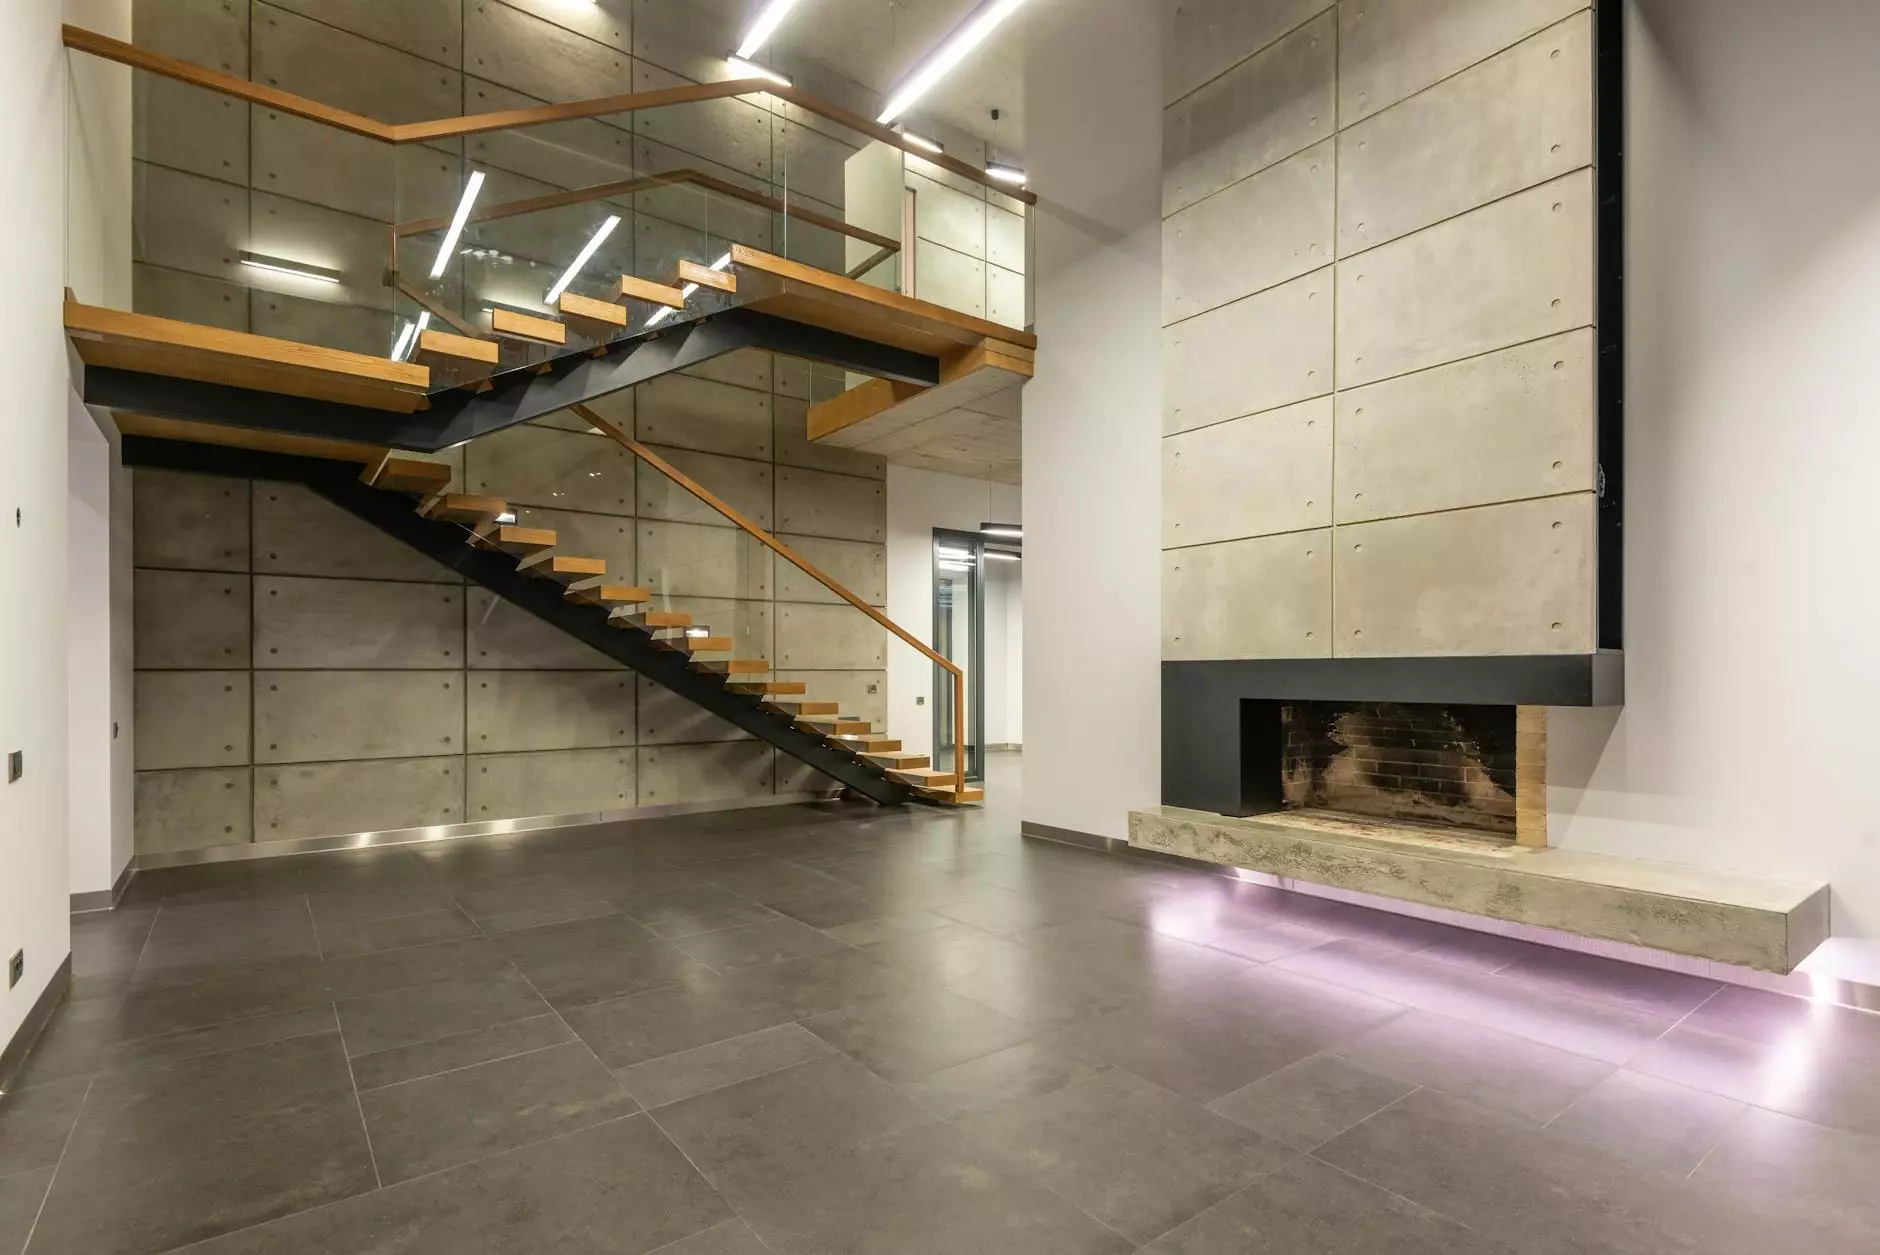
- Real Estate Marketing: Showcase a property’s transformation or highlight neighborhood activity to captivate buyers.
- Event Recaps: Create engaging recaps for events, making them more shareable and memorable.
Conclusion: The Future of Time-Lapse in Business
As video content continues to dominate the digital landscape, mastering the art of time-lapse will become increasingly valuable for photographers and marketers alike. By learning how to make video time lapse efficiently, businesses like bonomotion.com can create powerful visual narratives that resonate with audiences, enhance brand visibility, and ultimately drive success. Start exploring this captivating technique today, and watch your content reach new heights!